This post is written by Charlie Crawford who teaches for appendTo, who offers React Training Courses for developer teams.
There are many things to love about React, but one of the biggest pain points in React is project bootstrapping. As React takes a modular "roll your own" framework approach, it can take some time to get your project boilerplate up and running. Thankfully, create-react-app has come to the scene with powerful configuration free React boilerplate. While create-react-app tries to remain fairly agnostic and unopinionated, over time more and more functionality has been introduced into the project. Specifically, testing has progressed with the new revamped version of Jest (The "official" Facebook React testing tool) That being said, Enzyme (A popular third party React testing library by AirBnB) is still a vital part of the React testing stack. It can be a little unclear how create-react-app, Jest, and Enzyme should work Together. The official guide offers some insights on how to load Enzyme into your project, but doesn’t really explain the role Enzyme plays. Let’s change that.
Read more...
Tips on why you want to load test your website, web apps and API’s in 2017. Plus - a few tips on setup and implementation.
This post is written by Jaymi Tripp from Dotcom-Monitor.
1. You are expecting an influx in traffic or sales
If you know that you will see an increase in visitors to your website, load testing is crucial, and no website is invincible. In 2003 we saw with Amazon in a situation that ended in legal issues and server overload when someone entered incorrect data for the price of some popular electronic items at the time. Even the government is susceptible to crashes. We all remember this after the launch of Obama Care with the incredible page load times and constant glitches. Rumor has it that the site never went through any load testing scenarios and there was no information on what its capacity actually was.
Read more...
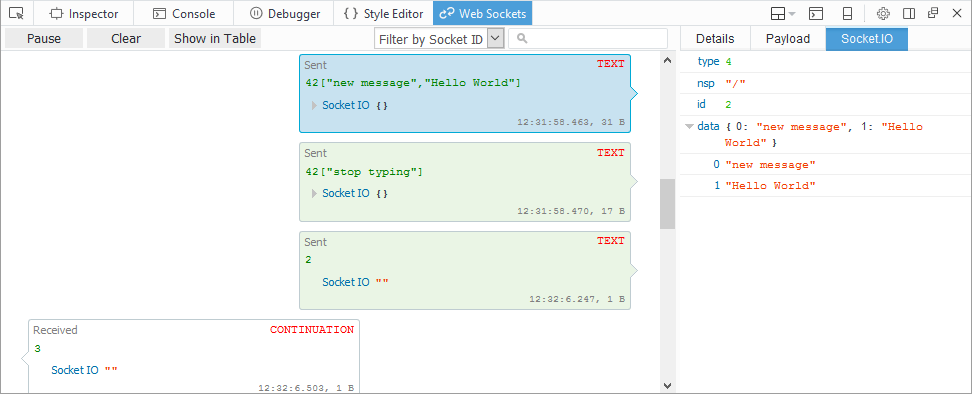
WebSocket monitor is an extension to Firefox developer tools that can be used to monitor WebSocket connections in Firefox. It allows inspecting all data sent and received.
It's been a while since we published first version of our add-on for inspecting WebSocket traffic and it's good time to summarize all new features and show how it's integrated with Firefox Developer tools.
Download signed version of this add-on from AMO. The source code with further documentation is available on github.
Update 2019/10/21: New WebSocket inspector has been released in Firefox 71
WebSocket Monitor can be used to track any WS connection, but following protocols have an extra support: Socket.IO, SockJS, Plain JSON, WAMP, MQTT.

(click to enlarge)
Read more...
I have been recently working on Pixel Perfect extension that allows web designers to overlay a page with semi transparent image and tweak the page HTML/CSS with per pixel precision - till it's matching the overlay.
This extension hasn't been working for several years (not maintained) and since requested by many users Firebug Working Group (FWG) got the opportunity to build that again and on top of native Developer tools in Firefox.
We had two goals in mind when building the extension:
- Make the Pixel Perfect feature available again
- Show how to build a real world extension on top of native API and tools in Firefox
This post focuses on the internal architecture. There is another post if you rather interested in the feature itself.

Read more...
Firebug 2 (released today!) uses number of internal architectural concepts that help to implement new features as well as effectively maintain the code base.
Using transparent architecture and well known design patterns has always been one of the key strategies of the (relatively small) Firebug team that allows us maintain rather large set of features in Firebug.
This post describes the way how Firebug deals with JavaScript object representation and the concept ensuring that an object is always rendered the same way across entire Firebug UI.
- Firebug 2.0 is compatible with Firefox 30 - 32
See also list of new features in Firebug 2
Firebug Internals I.
Read more...
One of the achievements of Firebug 2 alpha 1 release has been adoption of new JSD2 API and this task required significant changes and improvements in our code base. Among other things, we have also introduced a new concept that allows to nicely build asynchronously updated UI.
There are other concepts in Firebug 2 and this version is with no doubt the best one we have released. Try it and let us know how it works for you (Firefox 30+ needed).
In order to implement remote access to the server side debugger API, Firebug UI needs to know how to deal with asynchronous update. We applied Viewer Provider pattern and extended it with support for asynchronous data processing.
If you like using Document View, Model View Controller or similar design patterns to build your code base, you'll probably like Viewer Provider too.
So, follow this post if you are interested to know what Viewer Provider looks like.
Read more...
Firebug 2 (first alpha) has been released this week and it's time to checkout some of the new features. Note that you need at least Firefox 30 to run it.
This brand new version introduces a lot of changes where the most important one is probably the fact that it's based on new Firefox debugging engine known as JSD2.
Also Firebug UI has been polished to match Australis theme introduced in Firefox 29.
Read more...
There are many cases when web developer needs to resend an existing HTTP request (executed by the currently debugged page) and test the server back-end or perhaps even a specific web service.
Such action can be often repeated, and so the task should be simple and quick.
Firebug offers several ways how to resend HTTP request, read more if you are interested...
See all Firebug tips
Read more...
One of the new features introduced in Firebug 1.12 is a new Command Line command called:
getEventListeners()
The command returns all the event listeners registered for specific target. The target can be either an element, or another DOM object that accepts event listeners (e.g. window or an XMLHttpRequest).
See all Firebug tips
Read more...
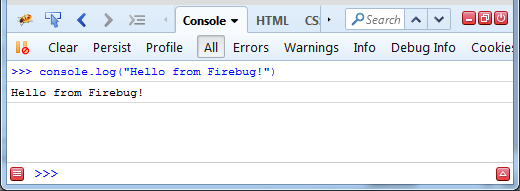
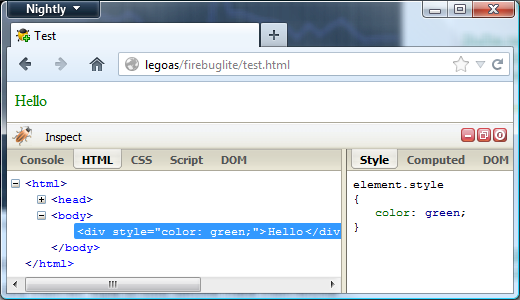
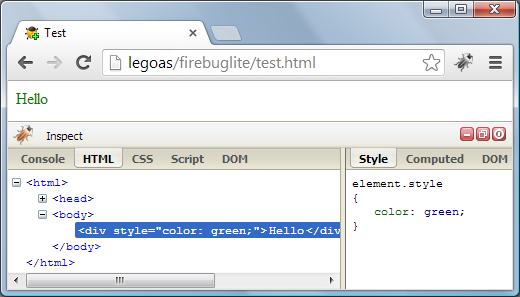
FirebugLite is lightweight version of Firebug (the Firefox extension) that does implement only a subset of features (mainly missing the Script and Net panel).
It's implemented as pure web application and running in all major browser.
Using Firebug lite is quick since it doesn't have to be installed (it's a web app) and it can also be injected into an existing page using a bookmarklet.
The next set of screenshots shows how Firebug Lite looks like in various browsers.
Let's see how you can run Firebug Lite within a web page. This post covers four scenarios:
- Include using <script> element
- Run through Bookmarklet
- Firebug Lite on iPad
- Run as Chrome Extension
Read more...